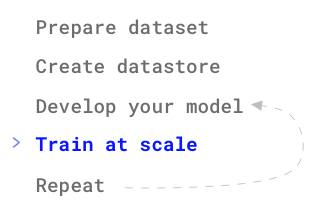
Typical Workflow (CLI User)
tip
For all code snippets you can modify the instance type to suit your needs. Please see the billings page for machine options and price and the machines page for recommended machine types.
Typical workflow (CLI user)
Goal
The goal of this tutorial is to walk through a typical workflow using the Grid command-line (CLI) package.
For users who prefer the web app this is the mirror tutorial for the web app.
note
The Grid CLI app has a 1:1 match in functionality with the Web app.
We'll use image classification as the example to illustrate the key ideas. The typical workflow goes like this:

Note a few things:
- The dataset is small so the tutorial can be quick. But the workflow doesn't change for large-scale data.
- We'll use PyTorch Lightning for simplicity, but the framework can be any of your choice.
- If you are signed into Grid with Google, make sure to link a Github account to your profile before launching your first run!
Tutorial time: 19 minutes
| time | step |
|---|---|
| 1 minute | Installing the Grid CLI |
| 2 minutes | Preparing the dataset |
| 2 minutes | Creating a Datastore |
| 2 minutes | Starting a Session |
| 1 minute | ssh connect to the Session |
| 5 minutes | prototype the model |
| 1 minute | Pause the Session |
| 1 minute | Run (hyperparameter sweep) |
| 3 minutes | Bonus: Become a power user |
Terminology Glossary
| Term | Description |
|---|---|
| CIFAR-5 | A dataset with 5 classes (airplane, automobile, ship, truck, bird). |
| grid datastore | High-performance, low-latency, auto-versioned dataset. |
| grid run | Runs a model (or many models) on a cloud machine (hyperparam sweep) |
| grid session | A LIVE machine with 1 or more GPUs for developing models |
| An experiment | A single model with a given configuration |
| A run | A collection of experiments |
| ssh | A way to connect from a local machine to a remote machine |
The dataset
For this tutorial we'll be using CIFAR-5. This is a subset of CIFAR-10 that we've chosen to make the models train faster.
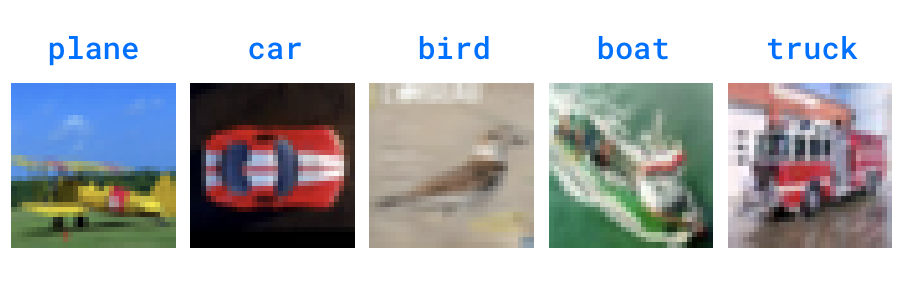
The goal is to teach a small neural network to classify these 5 sets of classes.
Step 0: Install the Grid CLI
(Time: 1 minute)
It's recommended to use a virtual environment to run with Grid. You can use conda or venv (If you're using MacOS, we recommend using venv).
pip install lightning-grid --upgrade
Now login
grid login
This will open the browser to your settings. If you signed up to Grid with Google, your username is your email address. If you used Github your username is your Github username.
If your machine doesn't support browsers, use this (get your username and key here)
grid login --username YOUR_USERNAME --key YOUR_API_KEY
note
You'll only have to do this once!
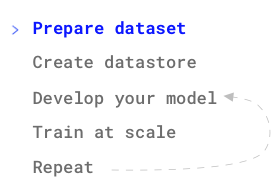
Step 1: Prepare the dataset
(Time: 2 minutes)
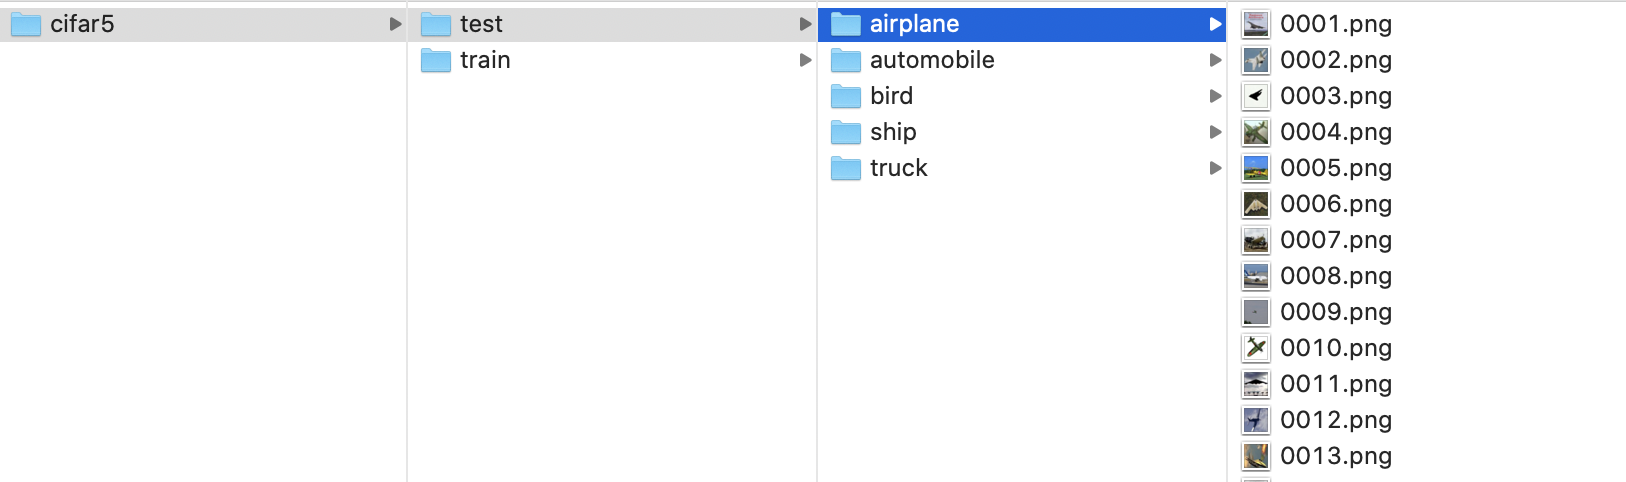
In a real workflow, you would already have the data locally or on a cluster. To make sure we are all using the same data, download the dataset to your machine and unzip it.
# download
curl https://pl-flash-data.s3.amazonaws.com/cifar5.zip -o cifar5.zip

# unzip
unzip cifar5.zip
This should create a folder with this structure:
Now that we all have the same data, let's start the real tutorial!
note
Hint: The UI can create a datastore from a .zip... this is just for tutorial purposes.
Step 2: Create a datastore
(Time: 2 minutes)
In a realistic workflow, we would start here. The first thing you want to do is to create a DATASTORE on Grid with your dataset. The datastore will optimize your data for low-latency, and high-availability to any machine you run on Grid.
Now create the datastore which will upload your dataset and optimize it
grid datastore create cifar5/
make sure it was created
grid datastore

Note: The datastore status moves through as series of statuses while it is being optimized. When it moves to "Succeeded" it's ready to be used.
Periodic uploads
In certain cases your data might change every few hours. In these cases, you can add the datastore create command to your crontab. Grid will automatically version the datastore for you.
#write out current crontab
crontab -l > mycron

#run datastore upload every hour every day
echo "0 * * * * grid datastore create cifar5/" >> mycron

#install new cron file
crontab mycron
rm mycron
Step 3: Create ssh keys (optional)
(Time: 1 minute)
This is optional, but enables you to
- ssh from your local
- ssh + VSCode
Create the ssh keys and add them to Grid
note
You need to do this step only once
# make the ssh key (if you don't have one)
ssh-keygen -b 2048 -t rsa -f ~/.ssh/grid_ssh_creds -q -N ""

# add the key to the ssh-agent (to avoid having to explicitly state key on each connection)
# to start the agent, run the following
eval $(ssh-agent)
# then add the key
ssh-add  ~/.ssh/grid_ssh_creds

# add the keys to grid
grid ssh-keys add key_1 ~/.ssh/grid_ssh_creds.pub
Step 4: Start a Session
(Time: 3 minutes)
Now that your data has been uploaded the next step in a real workflow is to spend time doing any of the following:
- Debugging the model
- Prototyping it on multiple GPUs
- Adjusting the batch size to maximize GPU usage
- Using the model for analysis, which might require GPUs
- Exploring and visualize the model
This is exactly what Sessions were created for.
Start a Session named resnet-debugging **with 2 M60 GPUs on it and attach our CIFAR-5** dataset.
Note: A credit card needs to be added to use GPU machines
grid session create \
--instance_type g4dn.xlarge \
--name resnet-debugging \
--datastore_name cifar5 \
--datastore_version 1
See if it's ready
grid status

Step 5: Connect to the Session
(Time: 1 minute)
Once the session is ready, you have three options to interact with it:
- JupyterLab (via the web UI) (see the web tutorial)
- ssh from your local
- ssh + VSCode
Let's login to the Session via SSH.
grid session ssh resnet-debugging
Now you're on the cloud machine! See how many GPUs you have
nvidia-smi
List the datastore
ls /datastores
Now you can code away!
git clone https://github.com/PyTorchLightning/grid-tutorials.git

# debug, prototype, etc...

# push changes when done
git commit -am "..."
git push
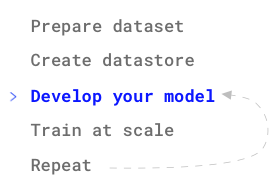
Step 6: Develop the model
(Time: 5 minutes)
Now that you have your data, code, and 1 GPU, we get to the fun part! Let's develop the model
At the end of the last section you used ssh to make model changes. However, I actually prefer to use VSCode for this. Let's set up VSCode to code directly on the remote machine.
First, launch VSCode.
Install the Remote Development extension
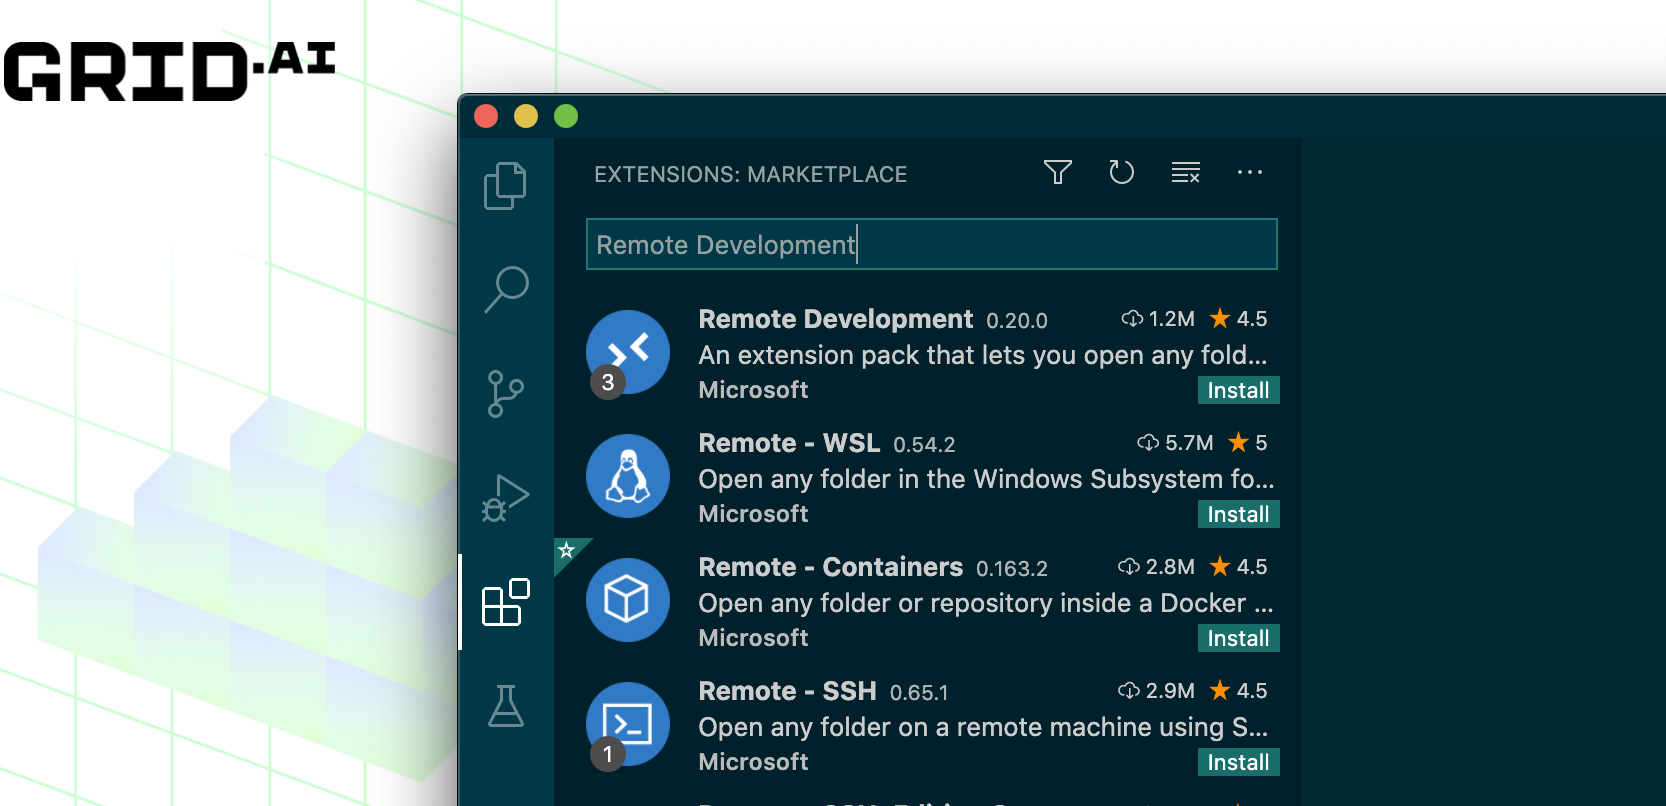
ssh into the interactive
grid session ssh resnet-debugging
Now link up VSCode with the Session
The model
For this tutorial, I'm going to use a non-trivial project structure that is representative of realistic use cases [code link].
The project has this structure
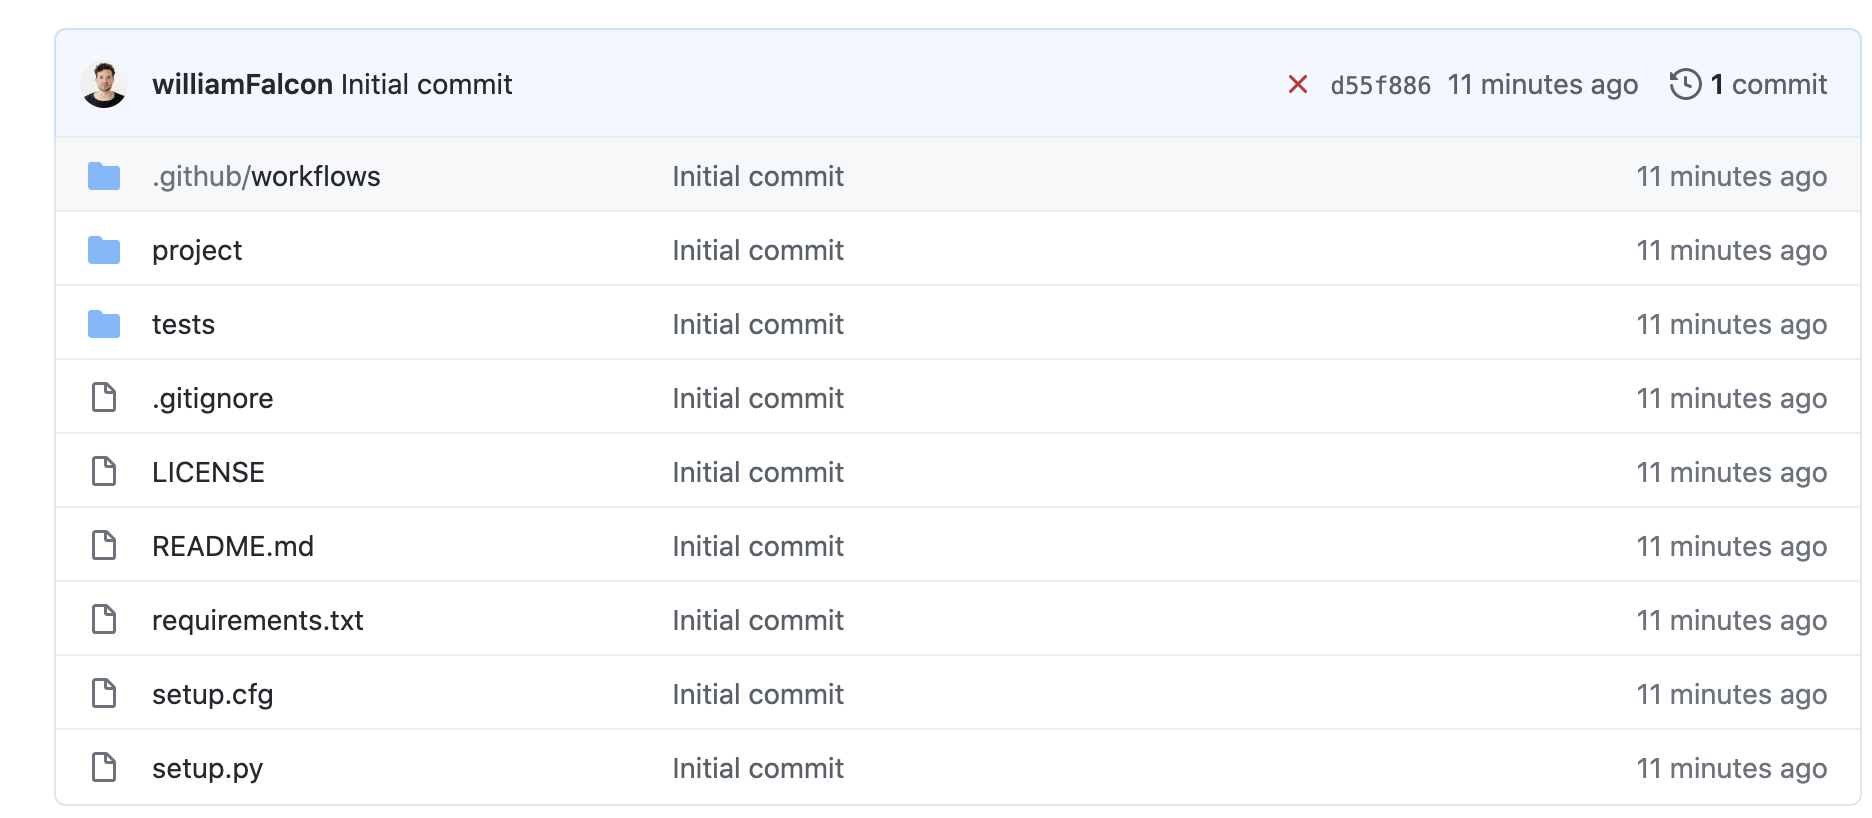
This folder is complicated on purpose to showcase that Grid is designed for realistic deep learning workloads. I'm purposely avoiding simple projects (code reference) that look like this (since those are trivial for Grid to handle.)

note
For best practices structuring machine learning projects in general, stay tuned for a best practices guide
Clone the project on the interactive Session
git clone https://github.com/PyTorchLightning/grid-tutorials.git
Install requirements + project
cd grid-tutorials/getting-started

pip install -r requirements.txt
now run the following command to train a resnet18 on 1 GPU
python flash-image-classifier.py \
      --data_dir /datastores/cifar5 \
      --instance_type g4dn.xlarge \
      --gpus 1 \
      --epochs 4
At this step (in a real workflow) you would code the model, debug, etc... using the remote GPUs from your local VSCode :)
Once you're ready, commit your changes so we can train at scale
git commit -am "changes"
git push
Step 7: Pause the Session
(Time: 1 minute)
Great! now that our model is ready to run at scale, we can pause the session.
grid session pause resnet-debugging

If you're tired of rebuilding environments every time you want to do a little bit of work, then pausing is your saving grace. Pausing:
- Saves your files
- Data
- Environment (installed packages, etc)
In addition, a paused session STOPS THE COST OF THE SESSION!
Step 8: RUN (hyperparam sweep)
(Time: 1 minute)
Once your model is ready to go, you usually want to train it to convergence. If you already know a good set of hyperparameters then your run will be very simple since it will train a single model.
If you'd like to find better hyperparameters for your model, a RUN can launch multiple variations of your model to try all hyperparameters at once.
First always commit changes and push to GitHub. Grid runs the latest version of your code (based on whatever your local branch is).
git commit -am "ready to run"
git push
Now let's kick off a RUN.
Make sure you are in the /grid-tutorials/getting-started directory for the tutorial
Now kick off the run with grid run
note
To convert the below run into a multi-gpu Run please set the --instance_type parameter to a machine with multiple gpus
and update the --gpus argument to the desired number of GPUs. See here for a table of machine types and their hardware specs.
grid run --dependency_file ./requirements.txt \
         --name cifar-tut-hpo \
         --instance_type g4dn.xlarge \
         --datastore_name cifar5 \
         --datastore_version 1 \
         -- \
         flash-image-classifier.py \
         --data_dir /datastores/cifar5 \
         --gpus 1 \
         --epochs 4 \
         --learning_rate "uniform(1e-5, 1e-1, 5)"
note
You can do this from the Session or your local machine (but you'll need to clone the project locally).
Bonus: Use a YAML for common runs
When your runs get repetitive or if they have a lot of hyperparameters, use a YAML to save the run configuration.
Check out the YML documentation